
This is recreation of a blog post by Brian A. White. Brian’s blog went offline sometime in 2009, and recently it was suggested that someone republish this useful tutorial to make sure it can be found by search engines and does not someday completely vanish from the Internet. So here it is.
Some of the links in this article are dead and not available in any existing archives. I’ve left those in but
crossed them out.Fortunately these dead links are not critical to the tutorial, and I was able to update the other links that have changed since this article was written. Brian, wherever you are, thank you again for writing this and I hope you are well.
Tutorial: Getting Real World Terrains into OpenSim
by Brian A. White – September 9, 2008
I named my first OpenSim region Orcas after a real world island. I decided to try and see if I could get the actual Orcas Island terrain into OpenSim to see how it looked and uncover any challanges one might face in bringing RL terrain into OpenSim. This tutorial will walk you through the process I followed and and various software packages required to make this happen (done on Windows). The net, net is I succeeded, but the results were uninspiring.
My thanks to Petrolia and this tutorial which got me started.
[UPDATE: See Darb Dabney’s excellent follow-up post here which shows how to do this more accurately. He completes a usable Orcas island with 54 OpenSim regions at proper scale! Great work Darb love it!]
Step 1 – Find Some Terrain
The US government maintains a great site which while a bit cryptic contains tons of data. Point your web browser here: http://nationalmap.gov/viewer.html. Navigate to “View & Download United States Data”. Make sure to enable pop-ups you’ll need them. Google maps it is not, but use the zoom and navigation controls to find a piece of terrain you want to put into OpenSim.
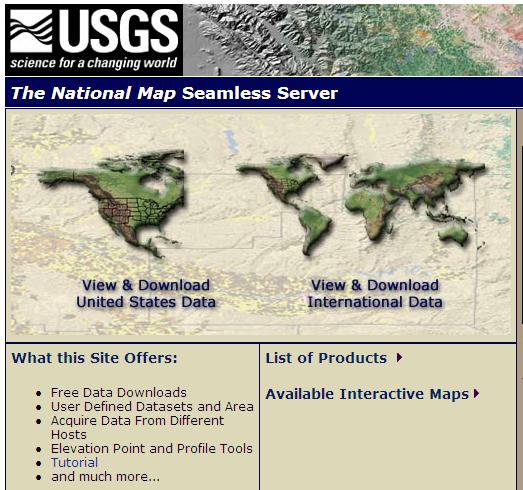
USGS Seamless Server
Step 2 – Select/Deselect Display Options
On the right hand side, there is a display panel with several drop downs. Deselect everything (a bit painful) and select “NED Shaded Relief (1/3 arc second)” This relates to the level of detail in the data. 1/3 is the more detailed than the 1 arc sec, but less than 1/9. 1/3 creates fairly large download and you may be able to get by with 1 arc second since this all goes down to 256×256 pixels.

1/3 arc second Elevation Selection
Step 3 – Select Download Area
On the right hand side of the display select the “Define Rectangular Download Area” and then drag a selection around the terrain you want to use. The process I describe in this tutorial fits what you select into a square image so the closer to square you select the less distortion you will encounter. Once you finish your selection a pop-up will come up summarizing your request.
Step 4 – Modify the Data Request
You want to get a .BIL formatted file, so click at the top of the request summary page on “Modify Data Request”. It looks like a column header but it is a link.
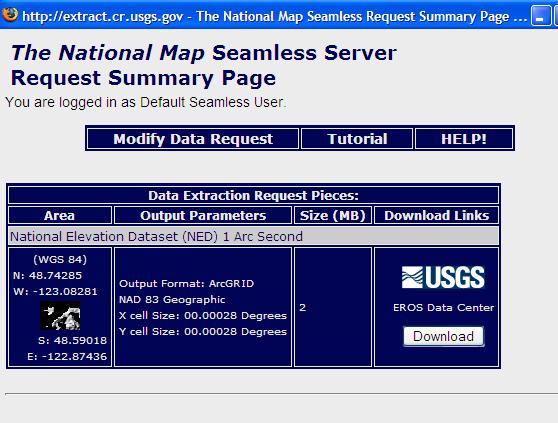
Modify Data RequestScroll down to the 1 selected download size and change from ArcGRID to BIL Change Download Type to .BIL
Now scroll all the way to the bottom and select Save Changes.
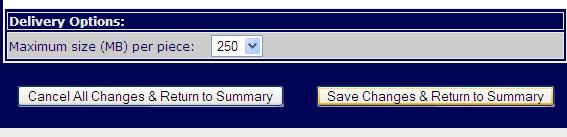
Save Changes
Your download should start, although you may have issues as I did with pop-up blocking settings.
Step 5 – Download and Install MicroDEM (free)
You now have raw terrain data in a .BIL file. To work with this, you need to convert it from BIL to a height map which is basically a greyscale image where 0 (black) represents the lowest point in the terrain and 255 (white) represents the highest point. The MicroDEM software lets you do this.
Download and install from here:
http://www.usna.edu/Users/oceano/pguth/website/microdem/microdemdown.htm
Step 6 – Open .BIL and Change to Grayscale
- File -> Open DEM (select the .BIL file from your download)
- I Needed to create “images” directory under c:\mapdata to get the save BMP to work.
- Modify->Elevation->Grayscale
- Modify->Grid->Neither
- Remove Legend Overlays by right clicking on the image and selecting “Legends/marginalia”
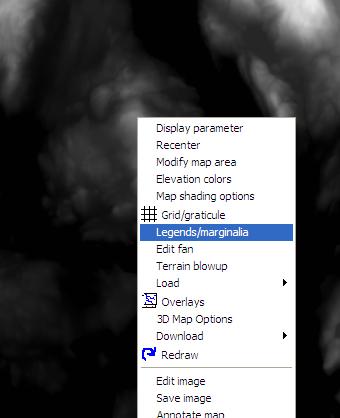
Legends Context Menu
You’ll see a dialog like this, deselect all the check boxes and click on “redraw map”.
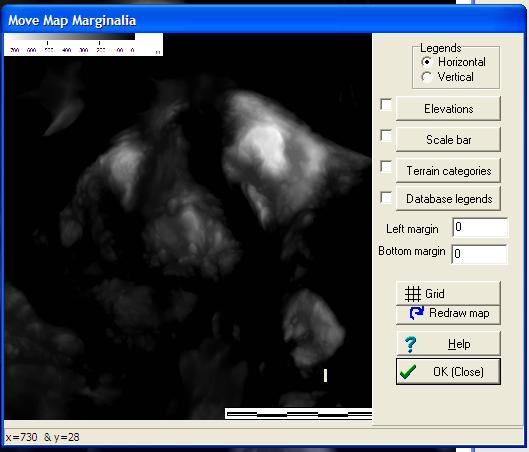
Remove Legends
Save it to a .BMP with
- File->Save
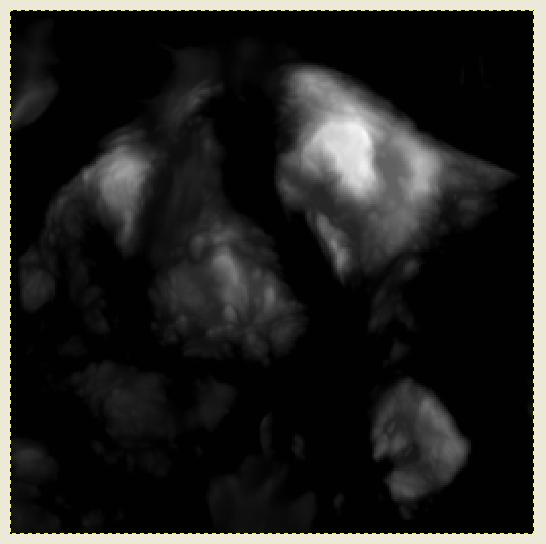
Step 7 – Crop/Scale in Your Favorite Image Editor
You now need to scale/crop the image down to 256×256 pixels. For this one I used the freely available GIMP, but Photoshop works well too.

The Gimp
Orcas Sized and Scaled
Step 12 – Load into OpenSim
You load the terrain into OpenSim from the OpenSim console with ”terrain load /path/to/file.png”. For SecondLife you can upload a .raw file from the estate tools, but this does not seem to be implemented yet in OpenSim. Converting from a heightmap to an SL raw file is a whole ‘nother topic.
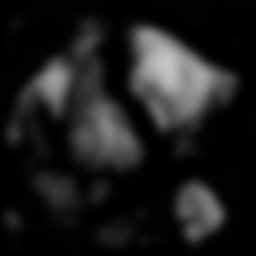
My first pass ended up with a very craggy landscape. The black turned into the floor of the sea with steep rises. In short, the terrain scale I picked was far to large for a single region. [I also learned later that you really cannot use the full range of black to white or you will get pretty unusable terrains.]
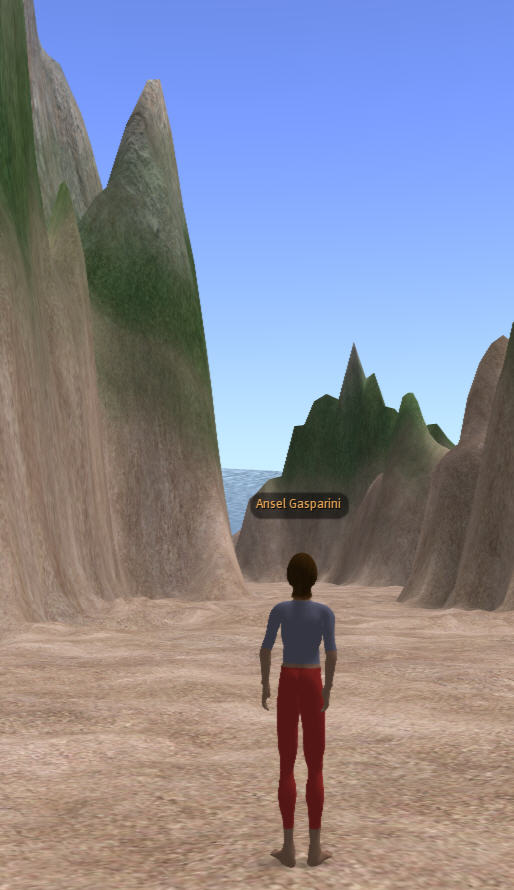
Craggy from Ground Level
I lowered the water level to zero to get a better perspective and took the following shot from above.
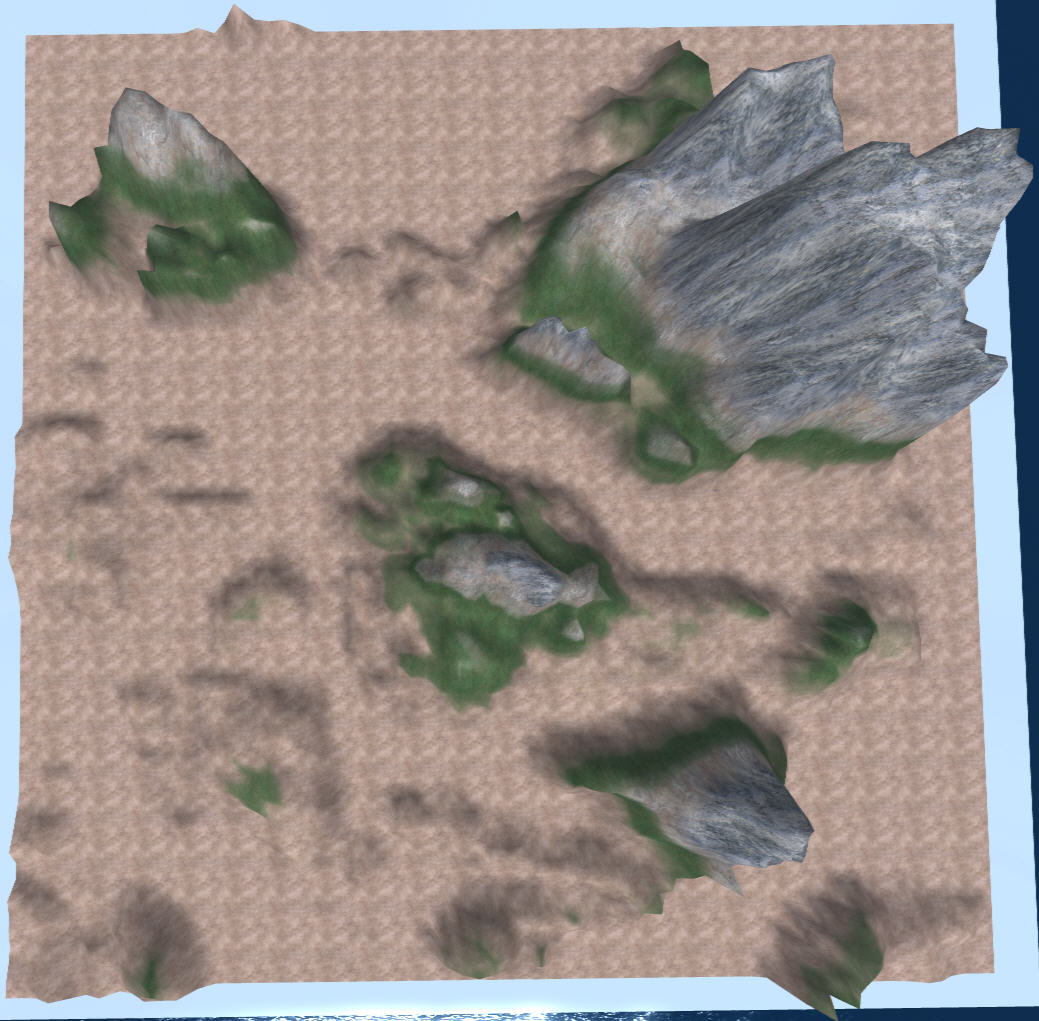
Aerial View With 0 Water Level
Step 13 – Make Adjustments, Rinse and Repeat
To get a smoother look, I used Gaussian blur filter in Photoshop and reloaded for the final results. [Reducing the contrast would have helped as well].
Terrain Smoothed with Gaussian Blur
-

Aerial View of Orcas
At the end of the day, this was not really what I was hoping for. It is not recognizable as Orcas and it is not very practical landscape for an SL Sim.
Here is another post from Emma Nowhere which offers more software packages for terraforming OpenSim/SL terrains.
End of Tutorial

You might have better luck spreading the terrain across multiple regions. Alternatively, you could grab the free version of World Machine and manipulate the raw data into something more intended for a virtual environment. Awhile back I wrote up a Unity-focused tutorial: http://fragileearthstudios.com/2012/09/15/generating-complex-terrains/ However, this could be adapted for OpenSim by using their “file input device.” http://www.world-machine.com/learn.php?page=devref#FILI
Great tutorial, Eric! I know lots of folks (like myself) spend time exploring both Unity and OpenSim, so this is very useful. Thanks so much for sharing it.
If you think there is interest I could probably gin up a tutorial to create something like this: http://www.flickr.com/photos/hackshaven/7563722762/ It’s 64 regions worth of terrain data and satellite photos. We use this in Unity for volumetric cloud rendering. http://vimeo.com/72900735#t=2m39s I should probably know this, but does OpenSim allow you to apply a texture across the entire region’s terrain?
Holy cow, that image is amazing. Yes, please! I think a tutorial on how you created that would be incredibly useful to many people using both Unity and OpenSim.
As for how terrain texturing works in Opensim, I believe it works just the same as it does in Second Life. That is, it’s really limited and basically sucks. 😛 Perhaps an OpenSim dev someday will move beyond feature parity with SL’s terrain texturing options and give Opensim folks some of the powerful terrain texturing flexibility you see in platforms like Unity…
Thanks Path and Eric for the links! Terrain editing in Opensim by hand was very painful until some recent fixes, but it’s still pretty limited for recreating RL locations, so these tutorials are super helpful. I’d also be interested in tutorials for Unity and other platforms where you find them, we do a lot of work in multiple worlds! 🙂
As an update, in order to follow this tutorial, I actually had to get the map data from this link:
http://www.mrlc.gov/viewerjs/
And followed the directions at this link to download the data in .BIL format:
http://www.pathloss.com/pwiki/index.php?title=MRLC
So far the rest of the instructions seem to be the same..
Thanks Fleep. I’ll update the tutorial with those links.
Pingback: What I’m Reading on 02/23/2014 | Blog | Bob Sutor
Hi
not sure it would be of interest to you in this post . If not please disregard. About the time you wrote this post I was also playing with RL terrain using USGL database for opensim application. But I use a different approach by creating a MESH terrain instead of applying the texture to the terrain map tool. The intent was to create a tutorial on how to proceed in this way. I created two real terrain map using this method for two of my friends in OSgrid. ( they could be reloaded if you want to experiment with them ). The advantage of MESH terrain is scaling as the mesh size is not limited to 256×256 so rendering a much more detail terrain is possible in a region size. Also an other advantage is that it can be textured with google satellite maps given the proper fit between USGL projection and GOOGLE MAP proprietary one. ( the Technic to do that was a pain to find) Unfortunately there is also a few disadvantageous effect on opensim to use this idea. One of this non important problem is physic. As discussed with Robert Adam father of bullet physic for opensim the mesh physic apply to a large build like a region mesh is not detail enough to follow the landscape properly. The physic box does not allow for the terrain detail. In the case of mesh terrain, the avatar walking over the landscape seem to fly over valleys in a peculiar way. The other disadvantage is the texturing limits applied to opensim. I have tried several work around among which dividing the mesh and using multiple material. The 1MB texture limit cannot provide a detail rendering or the terrain. Prixelisation of the terrain texture as seen from an avatar walking very near (2m) the surface is a killer for this idea.
Hope this comment help develop the idea as simulation over real terrain would be of great interest for training or education.
With fun in mind…
GiMiSa